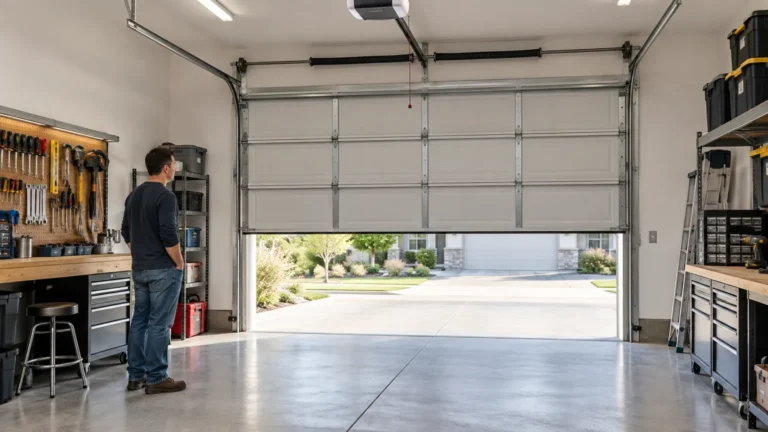
Garage Door Lubrication: What to Lubricate and What to Leave Alone
TLDR: Lubricate approved hinge pivots and suitable roller bearings or stems with a small amount of the product specified by the door manufacturer. Clean the tracks instead of greasing them. Do not adjust springs, cables, cable drums or bottom brackets, and do not spray an opener chain, belt, rail or trolley unless the opener manual specifically calls for it.
This garage door lubrication guide starts with an important distinction: lubrication is routine maintenance, not a cure for damaged or misaligned hardware. A light application at the correct moving interfaces can reduce squeaks and friction. It cannot repair a frayed cable, straighten a bent track, balance a heavy door or make a failing roller bearing sound again.
Before you reach for the spray can
Find the model information for both the door and the automatic opener. These are separate systems, and their maintenance instructions may differ. A lubricant approved for certain door hinges or rollers is not automatically appropriate for an opener rail, trolley, chain or belt. Manufacturer and industry guidance recommends consulting the applicable owner manuals rather than applying one procedure to every system.
The basic supplies are simple: the manufacturer-approved lubricant, clean rags, a soft brush or vacuum, eye protection and a stable step stool if an approved lubrication point cannot be reached from the floor. A narrow applicator straw helps control the amount. Avoid soaking parts; excess lubricant runs onto door panels and floors while collecting grit around the hardware.
Close the door before inspecting it. Keep children, pets and vehicles away from the work area, and prevent anyone from operating the opener while you are working. Follow the opener manual for disconnecting electrical power. Do not remove fasteners, loosen brackets or place fingers between door sections.
The garage door lubrication map
| Component | Homeowner action | What to avoid | Status |
|---|---|---|---|
| Hinge pivots | Apply a small amount at the pivot or rotating joint if permitted by the door manual; wipe away runoff. | Do not loosen hinge fasteners or spray the entire hinge and panel. | Generally DIY-safe |
| Rollers | Identify the roller construction, then treat only the approved metal stem or serviceable bearing area. | Do not coat nylon wheels or assume sealed bearings accept lubricant. | Manual-dependent |
| Tracks | Vacuum or brush away dirt, then wipe the running surface clean. | Do not coat the roller path with oil or grease. | Clean only |
| Lock and designated pivots | Use a controlled amount where the manual identifies a lubrication point. | Keep lubricant off painted panels, weather seals and the floor. | Generally DIY-safe |
| Springs and end-bearing areas | Inspect from a safe distance; apply a surface treatment only when the door manual expressly permits it. | Never adjust, stretch, unwind or remove spring hardware. | Manual-dependent; repair is professional-only |
| Cables, drums and bottom brackets | Inspect visually without touching or loosening anything. | Do not lubricate as a repair or remove attached hardware. | Professional-only if damaged |
| Opener chain, rail and trolley | Follow the exact opener manual for the model. | Do not spray by default or let lubricant reach electrical parts. | Manual-dependent |
| Belt-drive belt | Leave it alone unless the opener manufacturer gives an explicit maintenance procedure. | Do not treat it like a metal chain. | Keep dry by default |
The recurring rule is to lubricate a moving interface, not everything nearby. Door manufacturers commonly identify hinge pivots, certain roller stem or bearing areas, lock mechanisms and selected spring or bearing surfaces as possible lubrication points. The exact list changes with the hardware design.
A safe, controlled lubrication route
1. Inspect before adding lubricant
With the door closed, look for loose-looking hardware, cracked hinges, bent track, rollers sitting crooked, frayed cables or gaps in a spring. Observe without touching springs, cables, drums or bottom fixtures. If the door has been jerking, binding, dropping, becoming unusually heavy or leaving its track, stop here. Those are mechanical or balance problems, not lubrication problems.
2. Clean the tracks
Use a vacuum, soft brush or dry rag to remove cobwebs, dust and grit from the vertical and horizontal tracks. Wipe the roller path clean without bending the track or changing bracket positions. Manufacturer guidance supports cleaning this surface rather than broadly coating it with oil or grease, which can capture dirt and interfere with smooth travel.
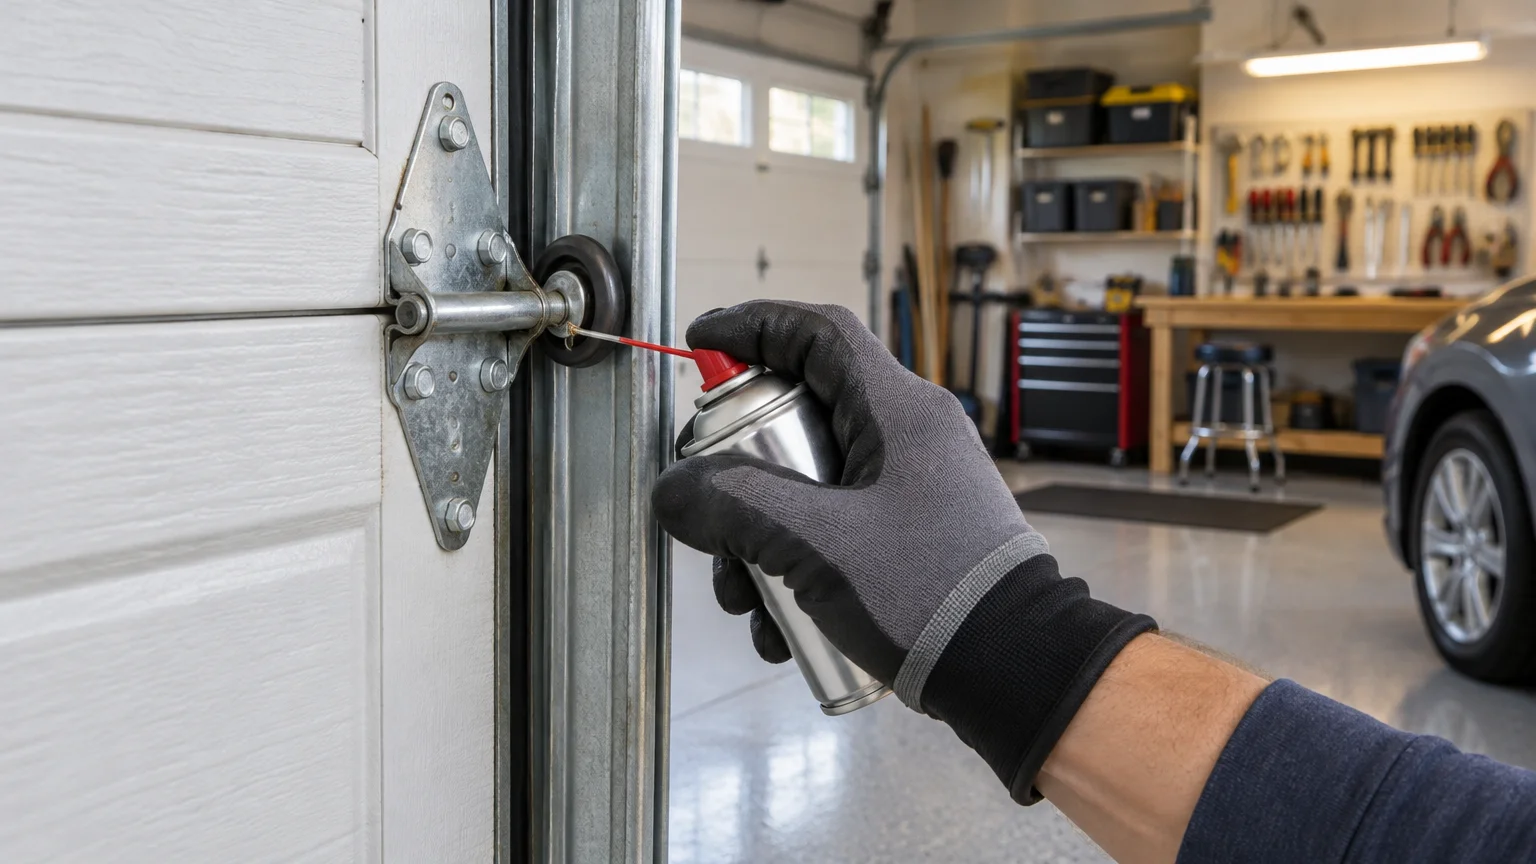
3. Lubricate approved hinge pivots
Place a small drop or short, controlled spray at each approved hinge pivot. Move from hinge to hinge rather than fogging an entire door section. The product needs to reach the rotating joint; coating the hinge face does little except create drips. Wipe excess from the hinge and panel immediately.
4. Treat each roller according to its construction
Do not give every roller the same treatment. A metal roller with an exposed, serviceable bearing arrangement may have a manufacturer-approved lubrication point. A nylon roller may require lubricant only at a metal stem—or none at all. Sealed bearings are designed differently from open or serviceable bearings and should not be flooded in an attempt to force lubricant past the seal. Genie’s homeowner guidance specifically distinguishes roller treatment by construction.
Apply lubricant only where the roller or door documentation permits it. Keep spray off the wheel tread and track. If a roller wobbles, has a chipped wheel, produces grinding noise or does not remain properly seated, replacement or track service may be needed. More lubricant will not restore damaged material or a worn bearing.
5. Address locks and other specified pivots
If the door has a manual lock, the manual may identify its moving interfaces as lubrication points. The same applies to other door-specific pivots. Use a precise application and keep lubricant away from the lock cylinder unless its manufacturer specifies a compatible product. Do not improvise around electrical switches or opener wiring.
6. Wipe the excess and observe operation
Remove drips from hardware, panels and the floor. Restore electrical power and reconnect the opener only as directed by its manual. From a clear position, operate the door through several complete cycles. Listen for a reduction in ordinary squeaking, but also watch for hesitation, skewed movement, bouncing rollers or binding. Stop operating the door if its movement becomes erratic.
Parts to keep dry by default
- Track running surfaces: Clean away debris, but do not create a dirt-catching film on the roller path.
- Nylon roller wheels: Lubricate only a permitted metal stem or bearing point, not the nylon tread.
- Sealed bearings: Do not try to force lubricant through a seal unless the component maker provides a procedure.
- Belt-drive opener belts: A belt is not an opener chain and should not receive chain lubricant.
- Photo-eye lenses: Clean them according to the opener manual; do not spray them with lubricant.
- Electrical parts: Keep lubricant away from controls, wiring, sockets, motors and circuit boards.
- Door panels and weather seals: Wipe away overspray rather than leaving a residue.
These limits matter because overspray can conceal the real source of a problem. A dirty track may look like a lubrication issue, while a door that binds at the same point on every cycle may have damaged track, hardware or panels. Clean first, apply sparingly and reassess.
Springs, cables and bottom brackets require firm boundaries
Some door manuals permit a light surface application to a spring or identify particular bearing components for lubrication. That permission does not make spring work a homeowner repair. Garage-door springs store substantial energy, and cables, drums and bottom brackets are part of the same counterbalance system. Industry guidance treats damaged springs, cables and related high-tension hardware as qualified-service work.
Do not loosen a spring fastener, touch winding hardware, move a cable, remove a bottom bracket or attempt to correct door balance. If a spring has a visible gap, a cable is loose or frayed, or the door feels unusually heavy, stop using it and arrange professional service. The Door and Access Systems Manufacturers Association garage-door safety guidance provides additional safety information for owners.
Do chain-drive openers need lubricant?
Sometimes—but the model manual decides where, what and how much. Chain-drive, screw-drive and belt-drive openers use different mechanisms. Even two chain-drive units may specify different maintenance for the chain, rail and trolley. Do not spray these components simply because they move. Opener maintenance is conditional on the manufacturer’s instructions, and a belt should never be treated as though it were a metal chain.
Also separate door noise from opener noise. Operate and inspect the system only through procedures permitted by the manuals. If the door is quiet when moved independently under an approved test procedure but noisy under powered operation, the opener may require diagnosis. If the door itself binds or feels heavy, servicing the opener will not correct the counterbalance problem.
When lubrication is not the fix
| Symptom | What it may indicate | Next step |
|---|---|---|
| Light squeak at a hinge | A dry approved pivot | Lubricate the pivot sparingly and observe. |
| Grinding or rough roller noise | Worn bearing, damaged wheel or contaminated track | Clean and inspect; arrange service for a damaged roller. |
| Door binds at the same location | Bent track, damaged panel, misalignment or failing hardware | Stop repeated operation and have the system inspected. |
| Roller leaves the track | Track or hardware failure | Stop using the door and call a qualified technician. |
| Loose or frayed cable | Counterbalance-system damage | Do not touch it; schedule professional service. |
| Visible spring gap or deformation | Broken or damaged spring | Keep clear and arrange professional replacement. |
| Door feels unusually heavy | Spring or balance problem | Stop using the door; do not compensate with opener adjustments. |
| Noise continues after correct lubrication | Wear, looseness, alignment trouble or opener fault | Use the sound location and movement pattern to guide professional diagnosis. |
Changing noise, visible hardware damage and irregular movement all justify closer inspection. If you are unsure whether a symptom has crossed from maintenance into repair, review these common garage door problems that call for professional help. Continuing to cycle a binding door can turn a small hardware problem into damage across several components.
How often should a garage door be lubricated?
There is no responsible universal interval for every door. Follow the door and opener manuals, then adjust your inspection routine for use and environment. High cycle counts, airborne dust, road salt, coastal exposure and large seasonal temperature swings can change how quickly hardware becomes dirty or noisy. Manufacturer and industry guidance supports condition-based inspection tied to the equipment instructions rather than one rigid schedule.
A practical routine is to inspect the system regularly and lubricate only the approved points when the manual calls for it or when a dry pivot needs attention. Do not turn lubrication into a monthly soaking. For a broader maintenance schedule, see how often a residential garage door should be serviced.
The practical takeaway
Good garage-door lubrication is precise and uneventful: identify the equipment, clean the tracks, place a small amount of approved lubricant at documented moving interfaces, wipe away the excess and observe the next few cycles. The restraint is as important as the lubricant.
If you find damaged rollers, bent track, frayed cables, broken springs, loose bottom hardware, poor balance or a door that remains heavy or erratic, stop. Lubrication has reached the limit of what it can do, and the safer next step is qualified diagnosis rather than another coat of spray.